Initial Setup
Lens and Extension Tubes
Depending on the camera sensor, lens and extension tube selection, a wide range of magnifications and PPI's can be achieved. See the table below for options that cover a range of options for the iX camera platform 120mm lens.
| | |
|---|---|---|
Description | iXG 100MP | iXH 150MP |
iX 120mm, no extension tube, min helical | 800 ppi | 1000 ppi |
iX 120mm, no extension tube, max helical | 1800 ppi | 2200 ppi |
iX 120mm, 21mm extension tube, max helical | 2700 ppi | 3300 ppi |
iX 120mm, 42mm extension tube, max helical | 3700 ppi | 4500 ppi |
iX 120mm, 63mm extension tubes, max helical | 4600 ppi | 5700 ppi |
Field of View
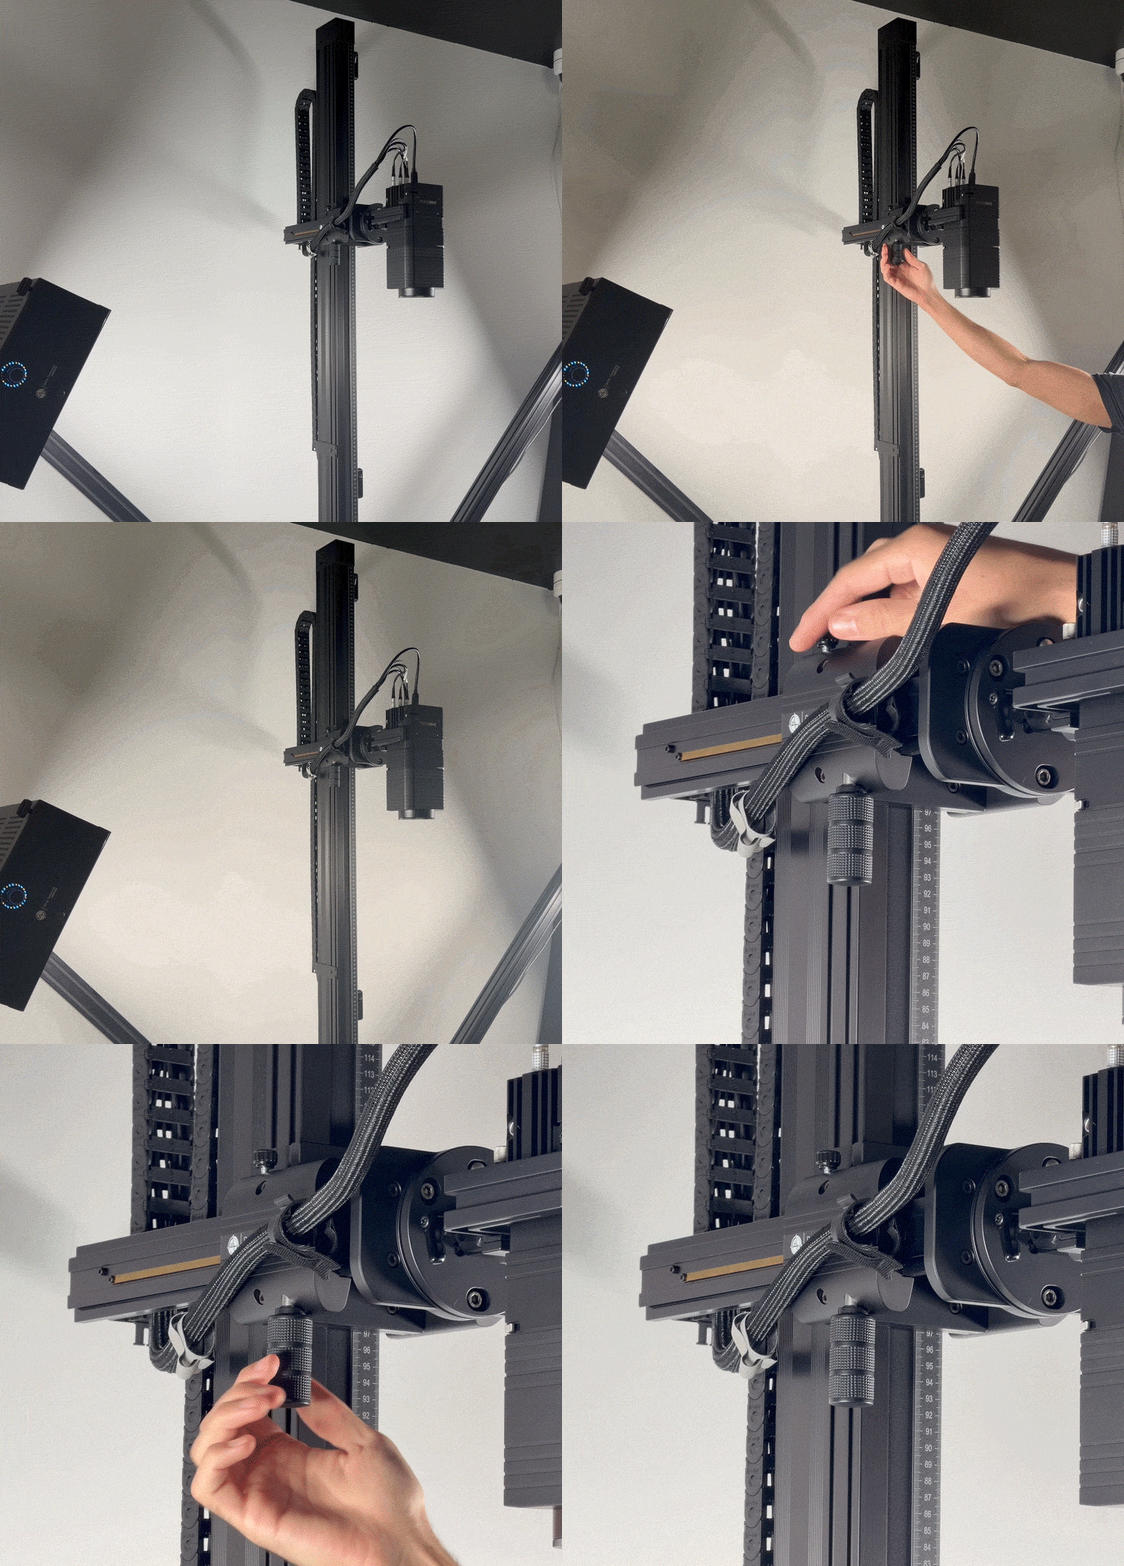
The camera’s field of view be re-adjusted in order to accommodate the ergonomic requirements of the operator. Locate the two black thumb screws near where the camera carriage arm attaches to the column. Loosen these thumb screws to unlock the carriage extension, then use the large handle underneath the carriage to extend the camera outward, toward the operator.
Camera Carriage Travel
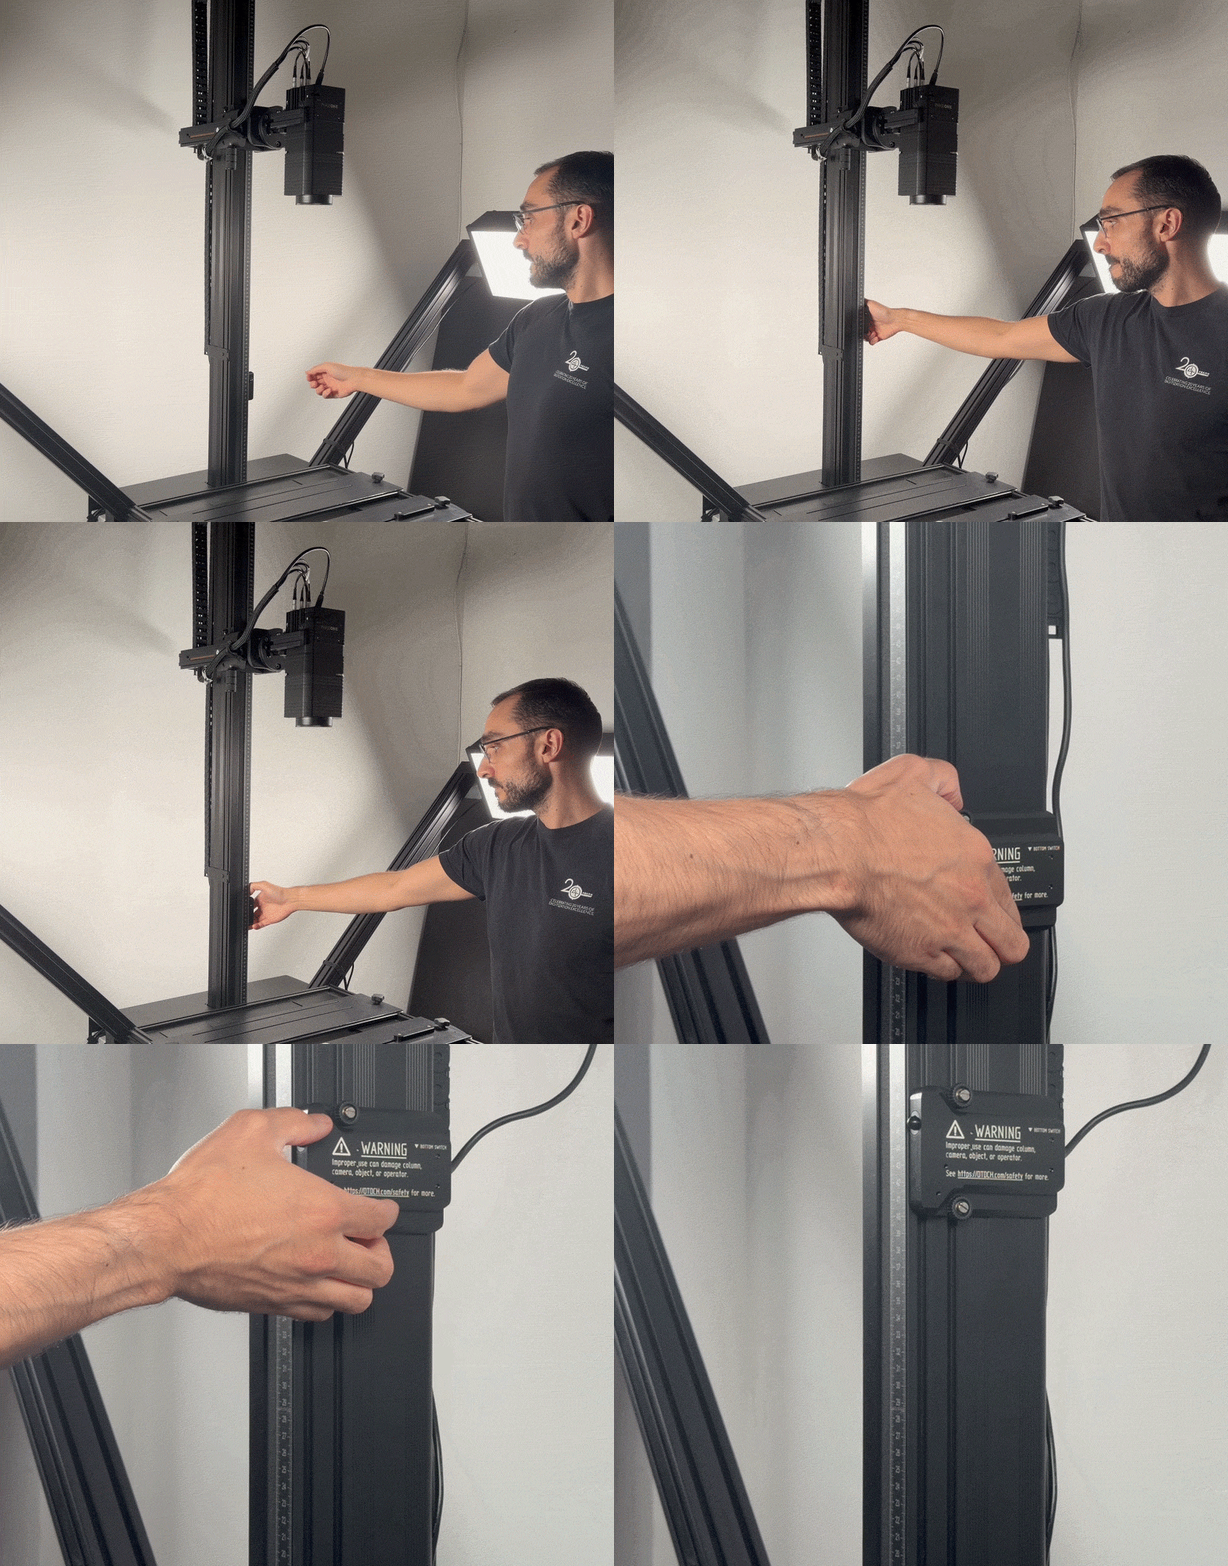
All DT Auto-Columns include two physical limit switches. After aligning the camera, re-position the lower limit switch to accommodate the extended length of the camera with extension tubes and the closer working distances required by film. Ensure that the camera will not collide with the digitization material or the film stage. Loosen the two thumb screws then slide the limit switch into the new desired position.